Importing Documents
The Import Document tool enables you to import a complete document into a section.
Note - The import process may not convert all the formatting exactly
as per the original document, therefore further editing may be required.
Supported document types for import are:
- Microsoft Word
- HTML
- Text files
- From the main Dashboard select Guideline Designer.
- From Guideline Designer select an existing guideline or create a new
guideline.
See - Create a New Guideline. - If required, select Insert New Section
 from the toolbar or right click and select Insert New Section
  , to create a new Section.
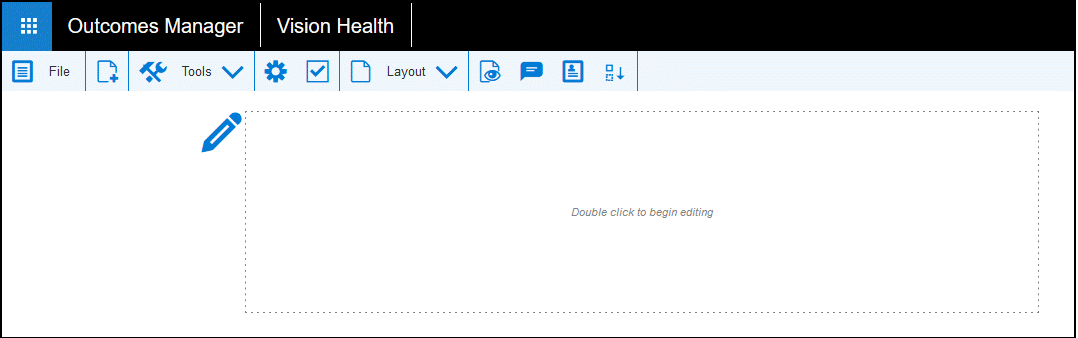
 - Select the Section for the location of the imported document.
- From the Tools drop-down or the right click menu choose Import Document.
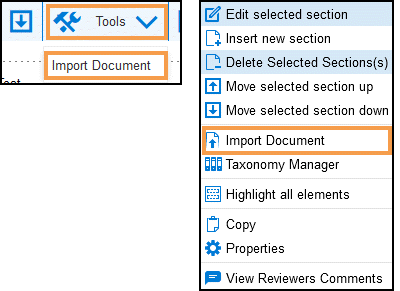
The Import Document pop-up displays.
- Select Browse to locate your document.
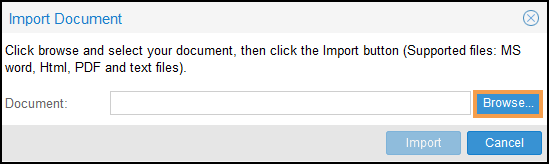
Then select Open, the pop-up refreshes with your document name.
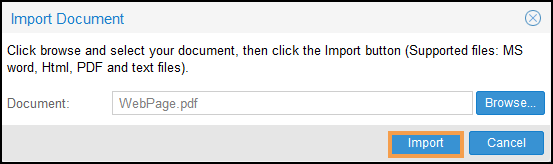
- Select Import to proceed.
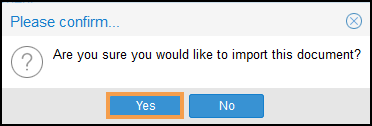
A notification displays "Are you sure you would like to import this document?".
-
Select Yes to confirm.
- To edit the imported document double click within the section or right click and choose Edit selected section.

- Sections can be moved up or down a Guideline as required.
Select a Section to move.
- From the toolbar or the right click menu select Up or Down
 .
.
- On completion, select File from the toolbar, then choose from:
- Save
- Save As - Assign a different name to the Guideline
- Save as Template - If you want to convert the Guideline to a Template, select this option.
Note - Save as Template does not remove the version saved as a guideline, if this is no longer required this can be Archived under Administration > Manage Workflows.